Snoring isn’t just an annoyance for your partner, but it’s often a sign that something’s going on with your airways. If you’ve tried everything from nasal strips to sleeping on your side and still sound like a lawnmower at night, it might be time to talk to a professional. ENT Specialist In Singapore can help you with this type of problem. These specialists can identify what’s really causing the noise and recommend treatments that go beyond just muffling it. Snoring is caused by the vibration of soft tissues in your airway as you breathe during sleep. But those vibrations can be amplified by nasal blockages, enlarged tonsils, or a deviated septum. That’s why at-home fixes don’t always work. The problem often lies deeper in the structure of your nose and throat.
Understanding Why Snoring Happens
Before jumping to solutions, it helps to grasp what’s actually happening when you snore. For many people, snoring occurs because airflow is restricted somewhere along the upper airway. This restriction makes tissues in the throat vibrate as air struggles to pass through. Several factors can worsen it, such as nasal congestion, allergies, weight gain, or even the way your jaw is shaped. Sometimes, lifestyle tweaks like losing a few pounds or avoiding alcohol before bed can help. But if your snoring is loud, persistent, and leaves you feeling groggy in the morning, it’s time to seek professional care.
Common ENT Treatments That Target Snoring
ENT specialists have access to various treatments that tackle the issue at its source. One of the simplest approaches involves addressing nasal obstruction. Procedures like turbinate reduction or correcting a deviated septum can make a big difference in airflow. For patients with throat-related causes, soft tissue treatments may be recommended. These can include tonsillectomy, palatal stiffening, or newer minimally invasive techniques using radiofrequency energy to reduce tissue vibration. The goal isn’t just to stop the noise, but to improve breathing and sleep quality altogether.
When to Consult an ENT Specialist
If your snoring is accompanied by gasping, choking, or daytime sleepiness, it may be linked to sleep apnea. That’s when seeing an ENT becomes essential. These symptoms suggest that your airway is partially collapsing during sleep, it’s a serious condition that deserves medical attention. An ENT evaluation often starts with a thorough examination and sometimes a sleep study. This helps your doctor pinpoint whether your snoring is structural, nasal, or due to muscle relaxation during sleep. Knowing the root cause allows for precise treatment instead of guesswork.
What to Ask Your Doctor Before Treatment

Before you agree to any procedure, have an open conversation with your ENT. Ask what’s causing your snoring and what treatment options fit your condition. Don’t hesitate to ask about side effects, recovery time, and success rates. An informed patient makes better decisions and feels more confident about their care. You should also ask about non-surgical interventions. Some ENTs may recommend nasal sprays, oral appliances, or positional therapy before suggesting surgery. A good treatment plan often blends medical solutions with small but effective lifestyle changes.
Simple Changes That Support Treatment Success
Even the best medical treatment needs your cooperation to work long-term. If you smoke, quitting can drastically improve your airway health. Keeping a consistent sleep schedule and maintaining a healthy weight also supports clearer breathing at night. Consider adjusting your sleeping position, too. Many people snore more when lying flat on their backs, so propping up your head slightly can make a surprising difference. Combine these changes with guidance from your ENT, and you’ll likely notice quieter nights and more energized mornings.


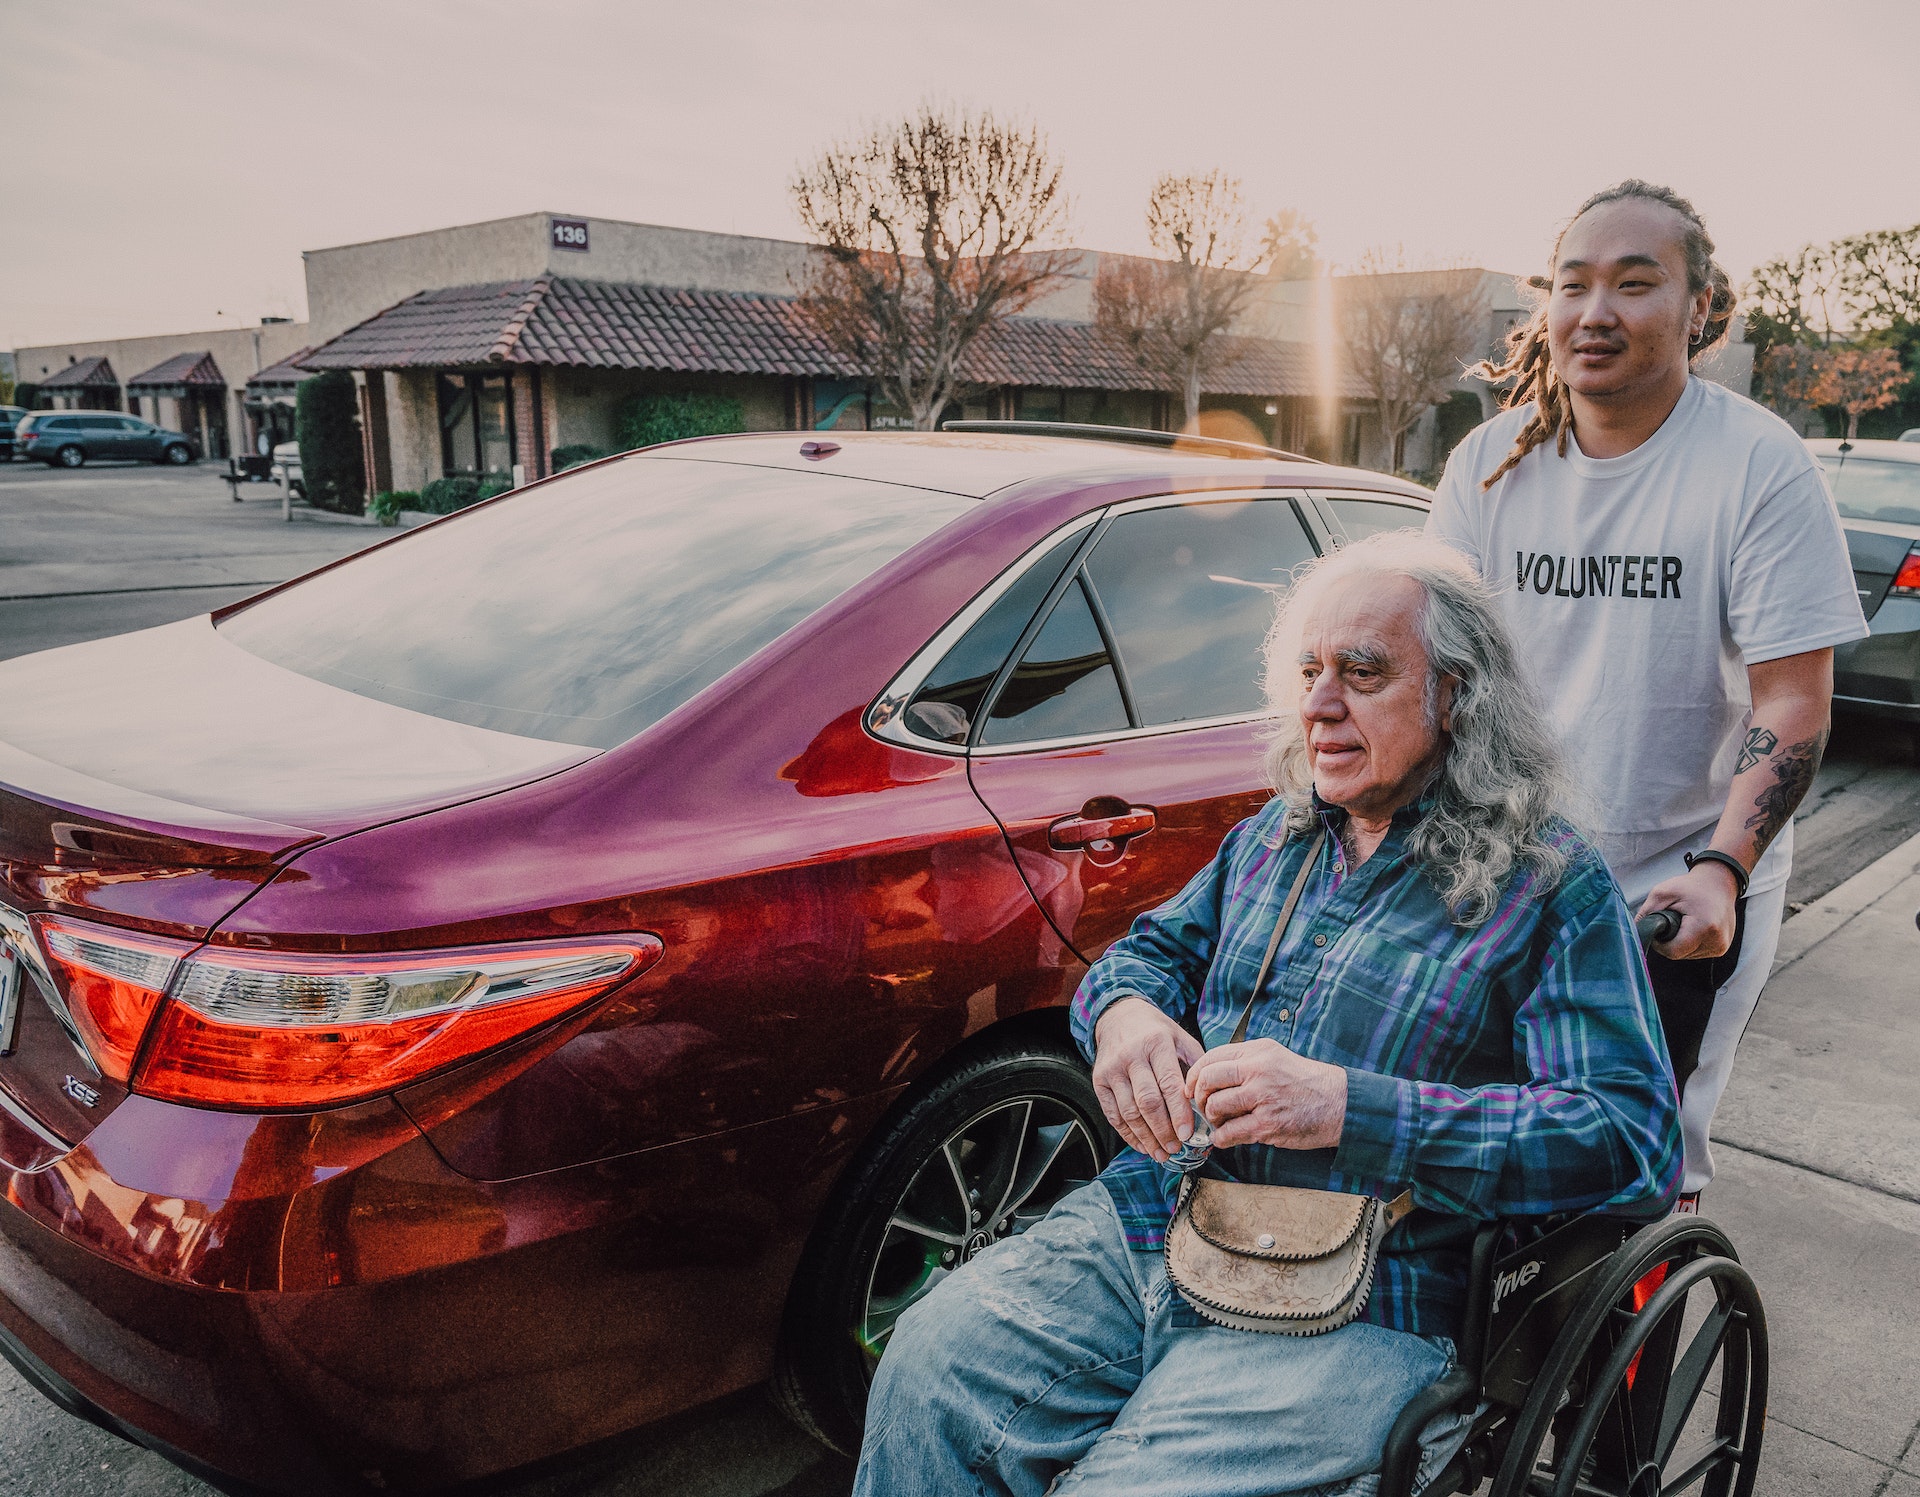
 Assisted living is a popular care option for seniors with disabilities who need help with daily activities such as bathing, dressing, and medication management. These facilities provide residents with private apartments while offering communal spaces for socialization and activities. The perk of living in this community is that it provides seniors with a level of independence while still receiving the necessary support they require. Staff is always there 24/7 to assist residents, but they also encourage them to participate in activities and events to maintain an active lifestyle. Many assisted living facilities also offer specialized care for those with specific disabilities such as dementia or mobility issues. This tailored approach ensures that each resident receives individualized attention and care based on their unique needs.
 Last but not least, let’s talk about home care. This option is highly suitable for seniors with disabilities who prefer to remain in their homes. It provides personalized care and attention that meets the specific needs of each individual. With home care, seniors can receive care with daily tasks such as taking and managing medication, prepping meals, and even bathing and dressing. The biggest pro you need to consider is that it lets seniors maintain their independence and privacy while receiving the necessary support they require to live comfortably at home. In addition, having a caregiver come into their own home can help reduce feelings of loneliness and isolation.
 Telogen Effluvium is a type of hair loss that occurs when the normal cycle of hair growth and shedding is disrupted. This condition can affect both men and women, and it usually causes diffuse thinning of the scalp hair. Unlike alopecia areata, which typically presents as patchy baldness, telogen effluvium results in an overall reduction in hair density. There are many potential triggers for telogen effluvium, including physical stress from illness or surgery, emotional stress from major life events like divorce or job loss, hormonal changes such as those that occur after childbirth or during menopause, and certain medications like antidepressants or blood thinners. The good news is that telogen effluvium is often temporary and reversible once the underlying cause has been addressed. However, hair growth may take several months to return to normal. If you’re experiencing unexplained hair loss or thinning, it’s important to talk to your doctor about possible causes and treatments.